Settings

Clicking the collapsed menu icon at the right of the navigation bar opens the Settings menu:

Formatting & Time zone
Time zone
This sets the default time zone used in the dashboard. Corresponding timestamps in the tables are adjusted accordingly.
DateTime
This sets the default format when DateTime values are presented in table columns. Two additional options allow you to:
- include the time zone in the DateTime value a
- add the "T" separator between the date and time portion of the DateTime value
Number formatting
This sets the default format for decimal places and integer values. By default, numbers are truncaed with ellipsis, such as "123...". When the Truncate numbers with # checkbox is selected, the cell will be shown entirely as "######".
Default Formatting Rules
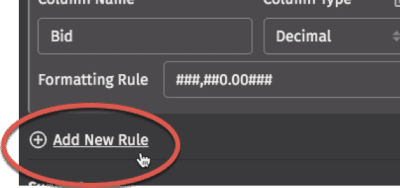
This section allows you to create specific default data formatting rules for columns that share the same name. Four rules have already been created for columns named Expiry, TimeStamp, Bid, and Ask respectively. Those rules can be deleted by clicking the Trash can icon on the right.
New formatting rules can be created by scrolling to the bottom of the section and selecting the Add New Rule button.

For a default formatting rule to apply, it must match both the column name and column type. Formatting set directly on the table will override these rules.
Application Settings

The Application Settings section can be expanded to access the Show system info in menu bar option. When turned on, the value of the system.type as defined in the system's properties file will appear at the top of the interface.

Keyboard Shortcuts
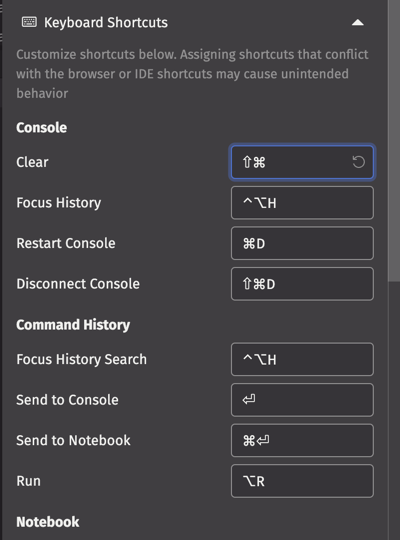
Expanding the Keyboard Shortcuts option displays the current defaults and allows you to customize keyboard shortcuts for use within the Deephaven IDE. Use caution when assigning shortcuts to avoid conflicts with existing shortcuts within your operating system or browser.

Support

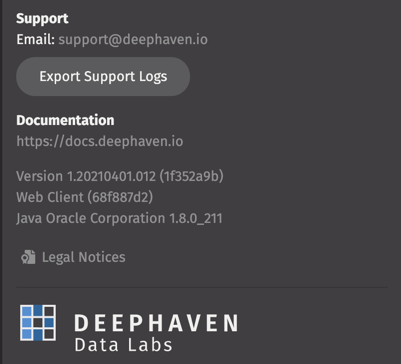
The bottom of the Settings menu contains shortcuts for contacting the Deephaven Support team via email, access to the Documentation Portal, as well as the version number of the Deephaven release running on the web.
Selecting the Export Support Logs button will download and save the web client's log files to your local file system, which can then be sent to the Deephaven Support team to review.