Write data to Deephaven
Create User Tables
In the importing CSV data tutorial, we uploaded a table of video game sales data into Deephaven. However, once that session is disconnected or closed, the data will also be removed. I want to create a user table I can access again.
I'll use the addTable method:
This query takes the data housed in the vgsales variable in the console and adds it to a new user table VideoGameTable in DemoNamespace.
Warning
Note: the query will fail if a table with this name in that namespace already exists.
Since you don't have access to the video game sales, let's get you data. To follow along with this tutorial, open the StockTrades table and export a few lines into two .csv files:
Now open and import the first file into the console. I've named mine table1:

Let's make this a user table:
Append Data to the Table
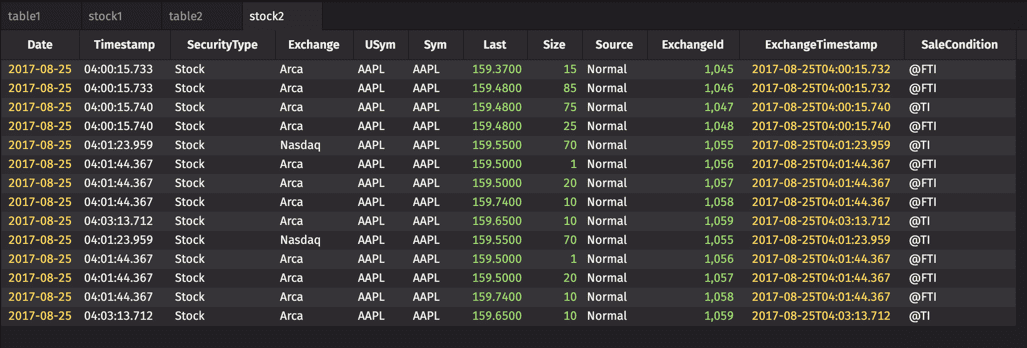
Now let's add on the other few rows we exported earlier. I've imported the second .csv file and called it table2:

We can now add this data onto the stock1 table:
Replace the Table
I can also replace the table entirely rather than adding on rows:

There are, of course, further options we do not cover here, such as how to remove a table.
More details can be found in the Managing User Data section of the documentation.