Python Remote File Sourcing
The Remote File Source feature allows you to provide Python packages and modules from your local VS Code workspace to a running Deephaven server. This is especially useful for sharing custom Python code, utilities, or dependencies with your remote Deephaven environment, without needing to manually upload or install them on the server.
This capability is enabled by the deephaven-plugin-python-remote-file-source plugin, which must be installed on the Deephaven Community or Enterprise Core+ worker being used. The VS Code extension manages the connection and sharing process.
How It Works
-
Marking Folders as Remote File Sources: In VS Code, you can mark one or more folders in your workspace to be exposed as remote file sources. These folders will be made available to the connected Deephaven worker as importable Python packages.
-
Server-Side Plugin: The Deephaven worker must have the
deephaven-plugin-python-remote-file-sourceinstalled and enabled. This plugin allows the server to recognize and import Python modules provided by the VS Code extension. -
Importing in Deephaven: Once a folder is marked and a connection is active, you can import your local Python modules in Deephaven scripts as if they were installed on the worker. For example:
Installing the deephaven-plugin-python-remote-file-source Plugin
The deephaven-plugin-python-remote-file-source plugin can be installed as a pip package on a Deephaven Core or Core+ worker. If you are using the managed pip server within the VS Code extension, you can simply install in the .venv associated with your VS Code workspace by adding it to a requirements.txt file or by running pip install deephaven-plugin-python-remote-file-source.
See the Install and use plugins for additional options.
Marking and Unmarking Folders
You can mark or unmark folders as remote file sources in one of two ways:
- Using the "Remote Import Sources" Panel
- Using the Explorer Context Menu
Using the "Remote Import Sources" Panel
-
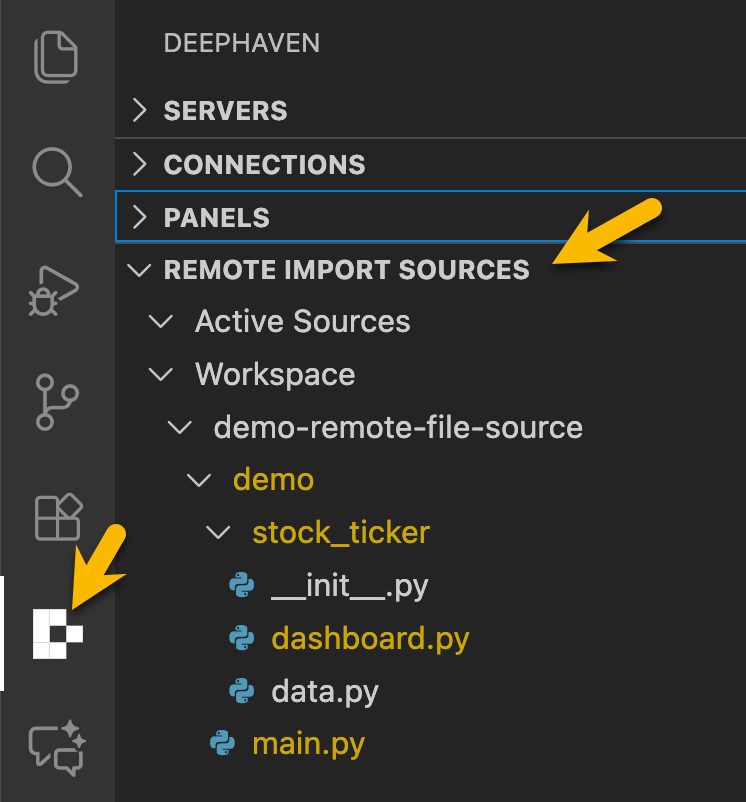
Open the Remote Import Sources panel in the Deephaven sidebar view.
-
Browse your workspace folder tree in the panel.
-
Click the + button beside a folder to add it as a remote file source.
-
Click the – button beside a marked folder to remove it from remote file sources.
Using the Explorer Context Menu
- In the VS Code Explorer, right-click a folder containing Python files.
- Select "Add to Deephaven remote file sources" to mark it.
- To unmark, right-click a marked folder and select "Remove from Deephaven remote file sources".
Example: Using a Local Package as a Remote File Source
The following example demonstrates how to use a local Python package as a remote file source so that imports work seamlessly in your Deephaven session.
Folder Structure
Create the following file / folder structure in a VS Code workspace.
File contents
main.py
stock_ticker/init.py
stock_ticker/data.py
stock_ticker/dashboard.py
Running the Example
- Mark the
stock_tickerfolder as a remote file source using the panel or context menu as described in Marking and Unmarking Folders. - In your VS Code workspace, use the Deephaven extension to run
main.py. The imports will resolve because thestock_tickerfolder is registered as a remote file source.
