Nvidia RAPIDS for crypto price prediction
A GPU-centric platform for machine learning
September 23 2022


The biggest players in the crypto space all use AI to predict prices and manage investments. You can take advantage of this strategy as well, and it's surprisingly easy.
The GPU is a great and simple way to accelerate your machine learning workflows.
This is the third of a six-part blog series on real-time crypto price predictions with AI. In this blog, I'll build a linear regression model using Nvidia RAPIDS to predict crypto prices. The model is basic, but is built with the best tool for leveraging CUDA-enabled GPUs. Keep up with the series:
- Acquire up-to-date crypto data with Apache Airflow
- Implement real-time AI with TensorFlow
- Implement real-time AI with Nvidia RAPIDS
- Test the models on simulated real-time data
- Implement the models on real-time crypto data from Coinbase
- Share AI predictions with URIs
We've seen how an LSTM model trains using TensorFlow. But I've got a CUDA compatible GPU. So why not use Nvidia's platform to do the work? This time around, I'll use Nvidia RAPIDS to build the LSTM.
Nvida Rapids
Instructions for installing Nvidia RAPIDS on Windows with WSL can be found here. It runs the entire data science training pipeline on GPUs, which can accelerate your workflows and reduce execution time.
Install and import required packages
We'll be using cuml for this application. The module contains a suite of libraries that implement machine learning algorithms on GPUs without heavy reliance on an understanding of CUDA programming.
General instructions for getting started with RAPIDS can be found here.
Package imports
Data manipulation
We have to prepare our data before we can send it to our model. In this case, we need three extra columns, each with data shifted an extra row downwards. To do so, we use special variables in a Deephaven query.
Construct a model
We will construct a linear regression model. The model itself is very simple, and constructing it is easy. With Nvidia RAPIDS, it will effectively utilize the CUDA-enabled GPU during training, testing, and deployment.
Train the model
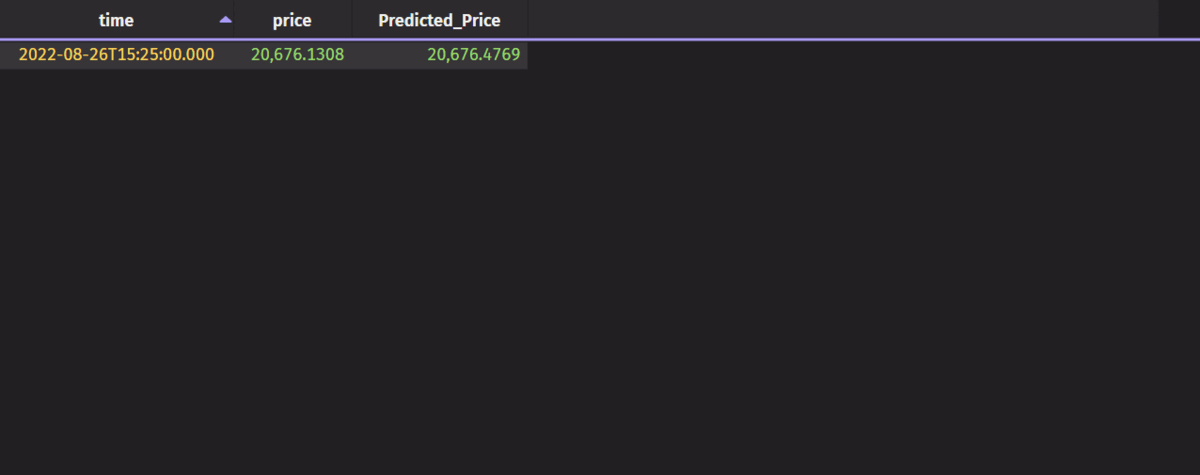
Sneak peek
In this blog, we built and trained a linear regression model using the GPU with Nvidia RAPIDS. In the next blog, we'll test the models on a simulated real-time data feed. Here's a sneak peek at what the output of this model looks like in real time.