Core+ Flight SQL ODBC
The Deephaven Enterprise Flight SQL ODBC Driver enables ODBC-compliant applications such
as PowerBI, Microsoft Excel,
and Tableau to connect to Deephaven Core+ servers. The driver is built
on Flight SQL, a protocol on top
of Arrow Flight that exposes SQL-like capabilities. Deephaven Core+
workers provide a built-in Flight SQL server that makes tables in the global query scope available as named tables,
queryable through the default Flight SQL catalog using standard SQL.
Important
The Deephaven Enterprise Flight SQL ODBC Driver is currently available for Windows only (64-bit). Linux and
macOS are not supported at this time.
Note
Only SELECT queries are supported; INSERT, UPDATE, and DELETE queries are not currently supported.
While Flight SQL / ODBC may be a convenient starting point for BI tool integration, the Flight SQL APIs are not Live Dataframe APIs. If you need to receive real-time updates, use a Deephaven-native client instead, such as the Deephaven Core+ Python client or the Deephaven Core+ Java client.
Quick start
- Install the driver — Run the MSI installer. The installer registers the driver automatically. See Installation.
- Configure a DSN — Open
odbcad32.exe, create a new DSN, and fill in your connection details. See Configure a DSN. - Test your connection — Click Test Connection in the DSN configuration dialog to verify connectivity. See Create a DSN for details.
- Connect from an application — Open PowerBI, Excel, or another ODBC-compliant tool and select your DSN. See Application integration.
Prerequisites
- Operating system: Windows 10 or Windows 11 (64-bit).
- Administrator privileges for installation.
- Access to a running Deephaven Core+ instance with Flight SQL enabled (Grizzly version 1.20240517.491 or later).
- The name of a running Persistent Query (PQ) you want to connect to.
Installation
Download and run the MSI installer
-
Obtain
Deephaven-Enterprise-Flight-SQL-ODBC-<version>-win64.msifrom your Deephaven administrator or download location. -
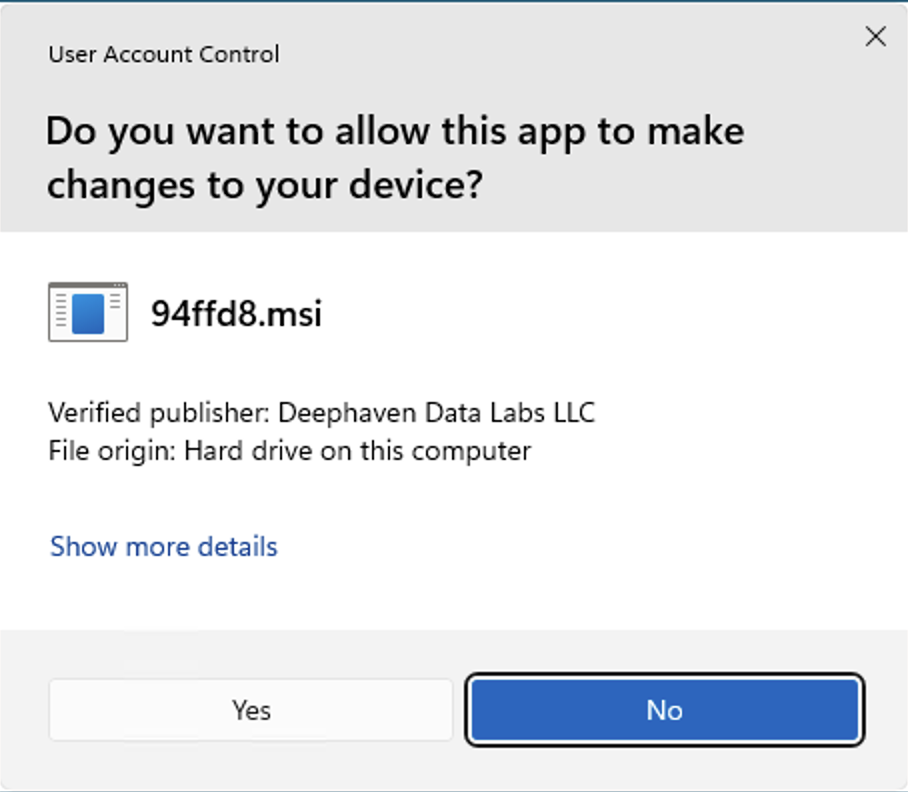
Double-click the MSI file. If prompted by User Account Control (UAC), click Yes to allow the installation.
-
Follow the installation wizard:
-
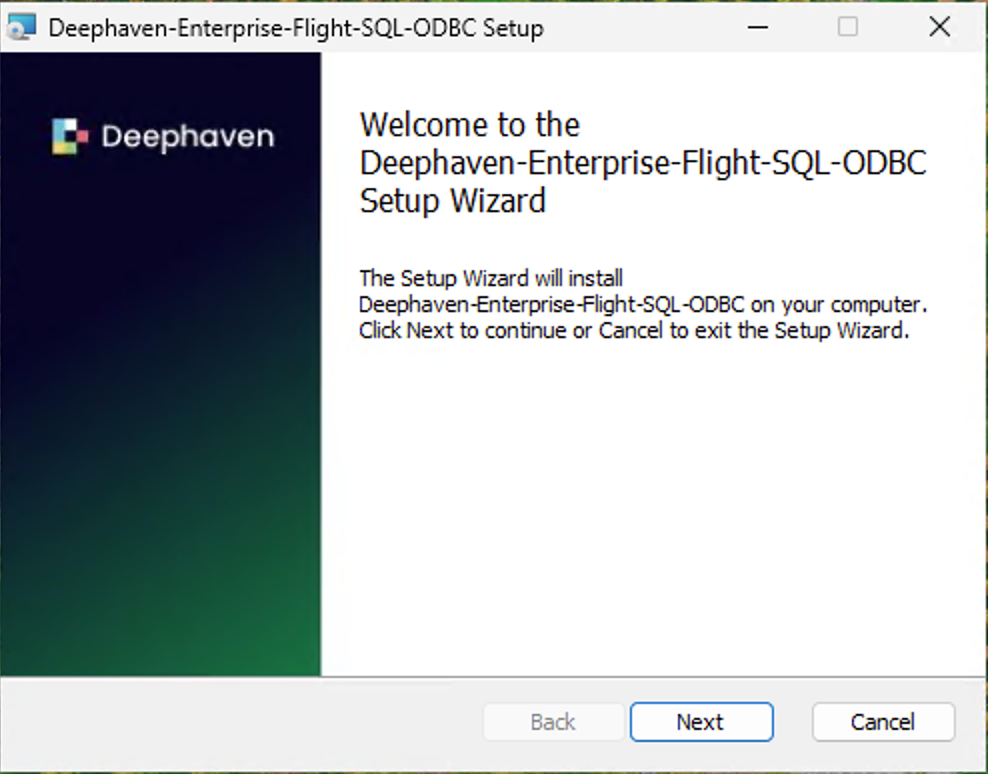
Click Next on the welcome screen.
-
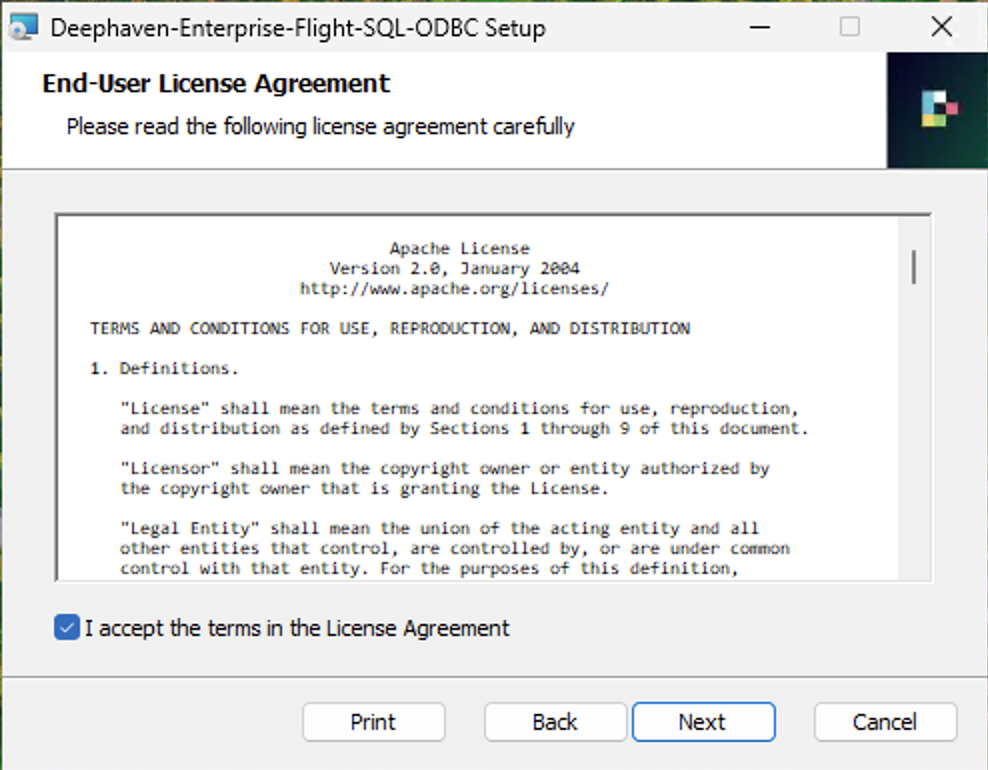
Review and accept the Apache 2.0 license agreement.
-
Choose the installation directory (default:
C:\Program Files\Deephaven Enterprise Flight SQL ODBC\). -
Verify the program is signed by Deephaven when prompted by UAC.
-
Click Yes to allow the installer to make changes to your system and complete the installation.
-
Verify installation
- Open ODBC Data Source Administrator (64-bit):
- Press
Win + R, typeodbcad32.exe, and press Enter; or - Search for "ODBC Data Sources (64-bit)" in the Start menu.
- Press
- Go to the Drivers tab.
- Confirm that Deephaven Enterprise Flight SQL appears in the list with version information and a file path.
Important
Always use the 64-bit ODBC Administrator (C:\Windows\System32\odbcad32.exe). Do not use the 32-bit version (
C:\Windows\SysWOW64\odbcad32.exe). The driver is 64-bit only.
Configure a DSN
A Data Source Name (DSN) stores your connection settings so you don't have to enter them every time you connect from an application. Windows supports two types of DSN:
- User DSN — Available only to the current Windows user. Recommended for personal workstations.
- System DSN — Available to all users on the machine. Recommended for shared servers and service accounts.
Create a DSN
-
Open ODBC Data Source Administrator (64-bit) (see Verify installation).
-
Go to the User DSN tab or the System DSN tab, depending on the scope you need.
-
Click Add..., select Deephaven Enterprise Flight SQL, and click Finish.
-
Fill in the connection fields:
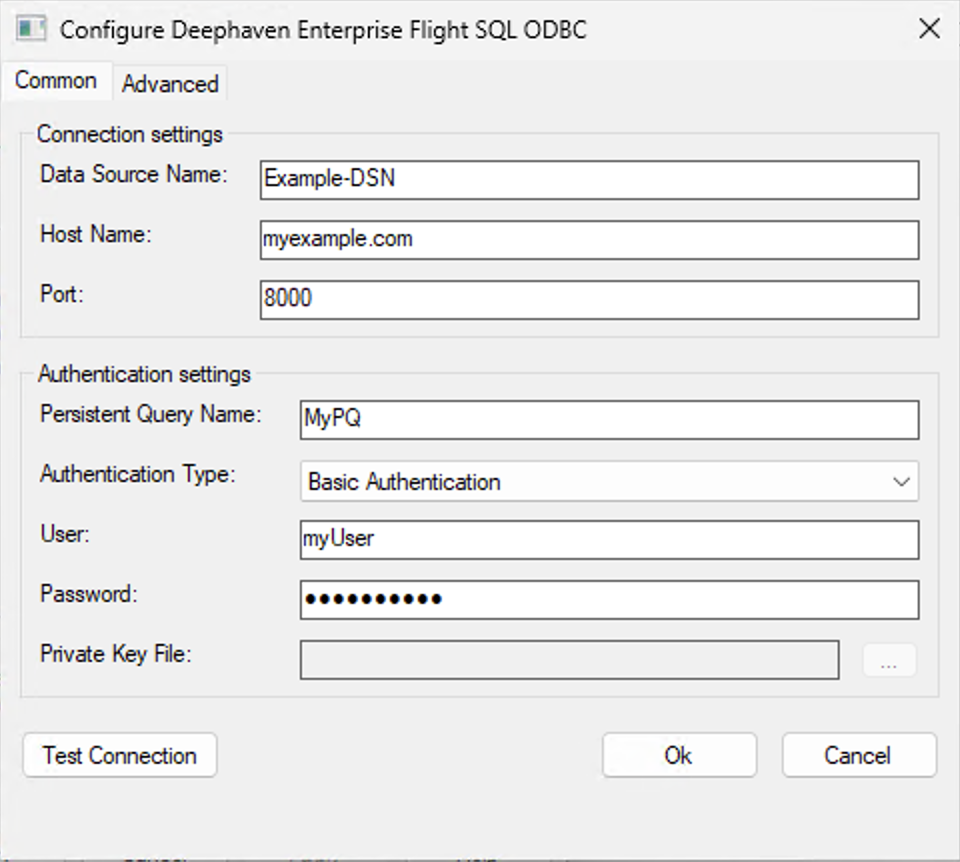
Field Required Description Data Source Name Yes A descriptive name (e.g., Deephaven Production). This is the name you select in applications like PowerBI.Description No Optional description (e.g., Production analytics cluster).Host Name Yes Deephaven server hostname or IP address (e.g., deephaven.mycompany.com).Port Yes Server port. Contact your Deephaven administrator for the correct value. Persistent Query Name Yes Name of the Persistent Query to connect to (e.g., my_analytics_pq).Authentication Type Yes Basic Authentication (username/password) or Private Key Authentication (key file). See Authentication. -
Click Test Connection. If successful, you'll see a Test Connection Succeeded dialog.
-
Click OK to save the DSN.
Authentication
The driver supports two mutually exclusive authentication methods:
Basic Authentication
Enter your User and Password in the DSN dialog. Both fields are enabled when Basic Authentication is selected.
Private Key Authentication
When Private Key Authentication is selected, the User and Password fields are disabled. Instead, provide the *
Private Key File Path* — the full path to your Deephaven-format private key file (e.g.,
C:\Users\yourusername\deephaven_key.txt).
See private key authentication
for more details on how private key authentication works in Deephaven. Your Deephaven administrator should provide you
with a private key file if your environment is configured to use this authentication method.
Connection string format
To connect programmatically (without a pre-configured DSN), use an ODBC connection string:
Basic Authentication:
Private Key Authentication:
Connection string parameters:
| Parameter | Required | Default | Description |
|---|---|---|---|
HOST | Yes | — | Server hostname or IP address. |
PORT | Yes | — | Server port. |
UID | Basic auth only | — | Username. |
PWD | Basic auth only | — | Password. |
PrivateKeyFilePath | Key auth only | — | Path to Deephaven-format private key file. Mutually exclusive with UID/PWD. |
PQName | Yes | — | Persistent Query name. |
Application integration
PowerBI Desktop
-
Open PowerBI Desktop.
-
Click Home → Get Data → Other.
-
Search for
ODBC, select ODBC, and click Connect.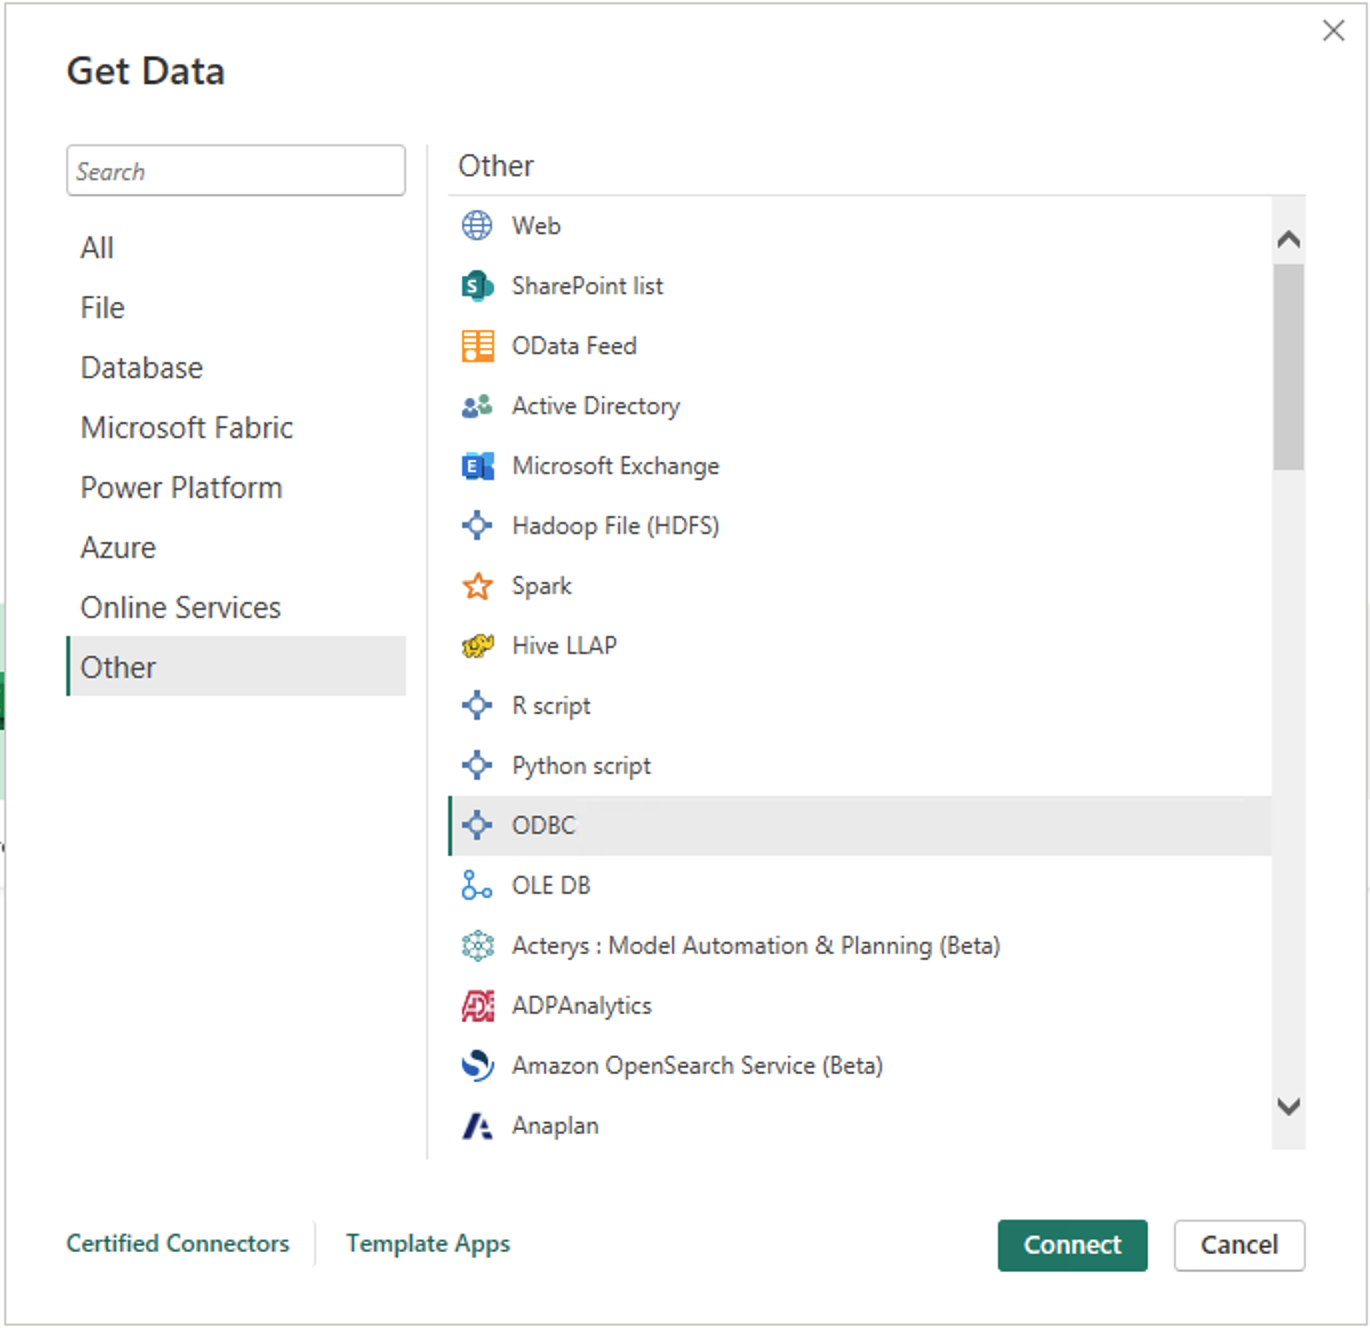
-
Select your DSN from the Data source name (DSN) dropdown. Expand Advanced options and enter a SQL
SELECTstatement in the SQL statement input box to query a specific table on load.Note
Do not include a trailing semicolon (
;) in the SQL statement.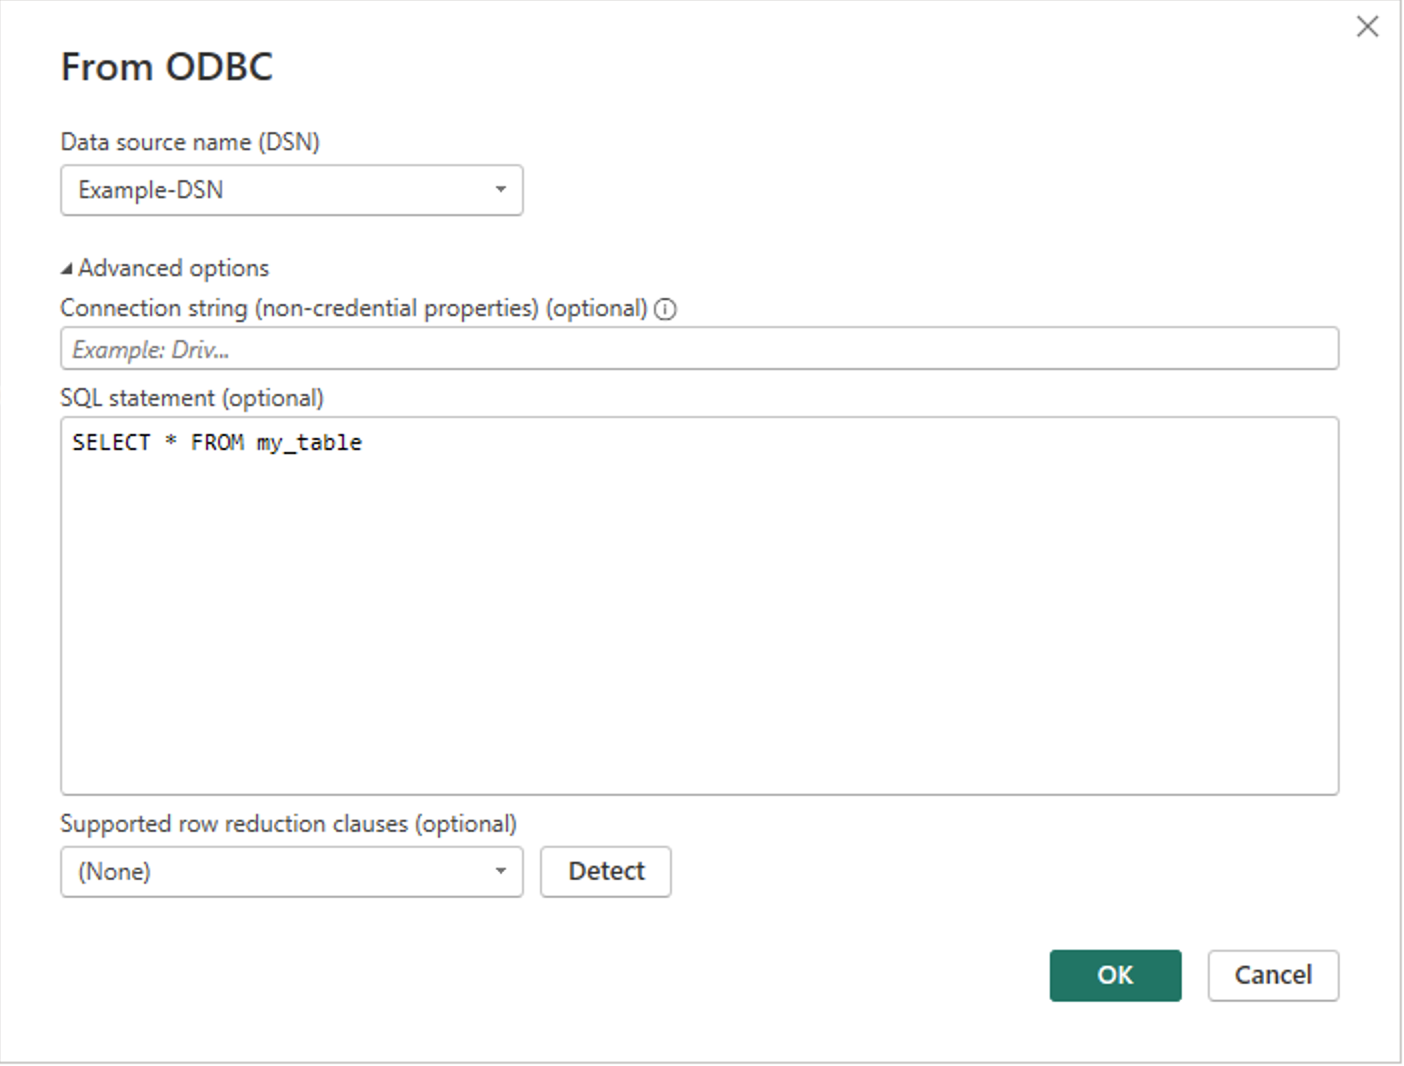
-
Click OK. The query result is displayed directly in PowerBI.
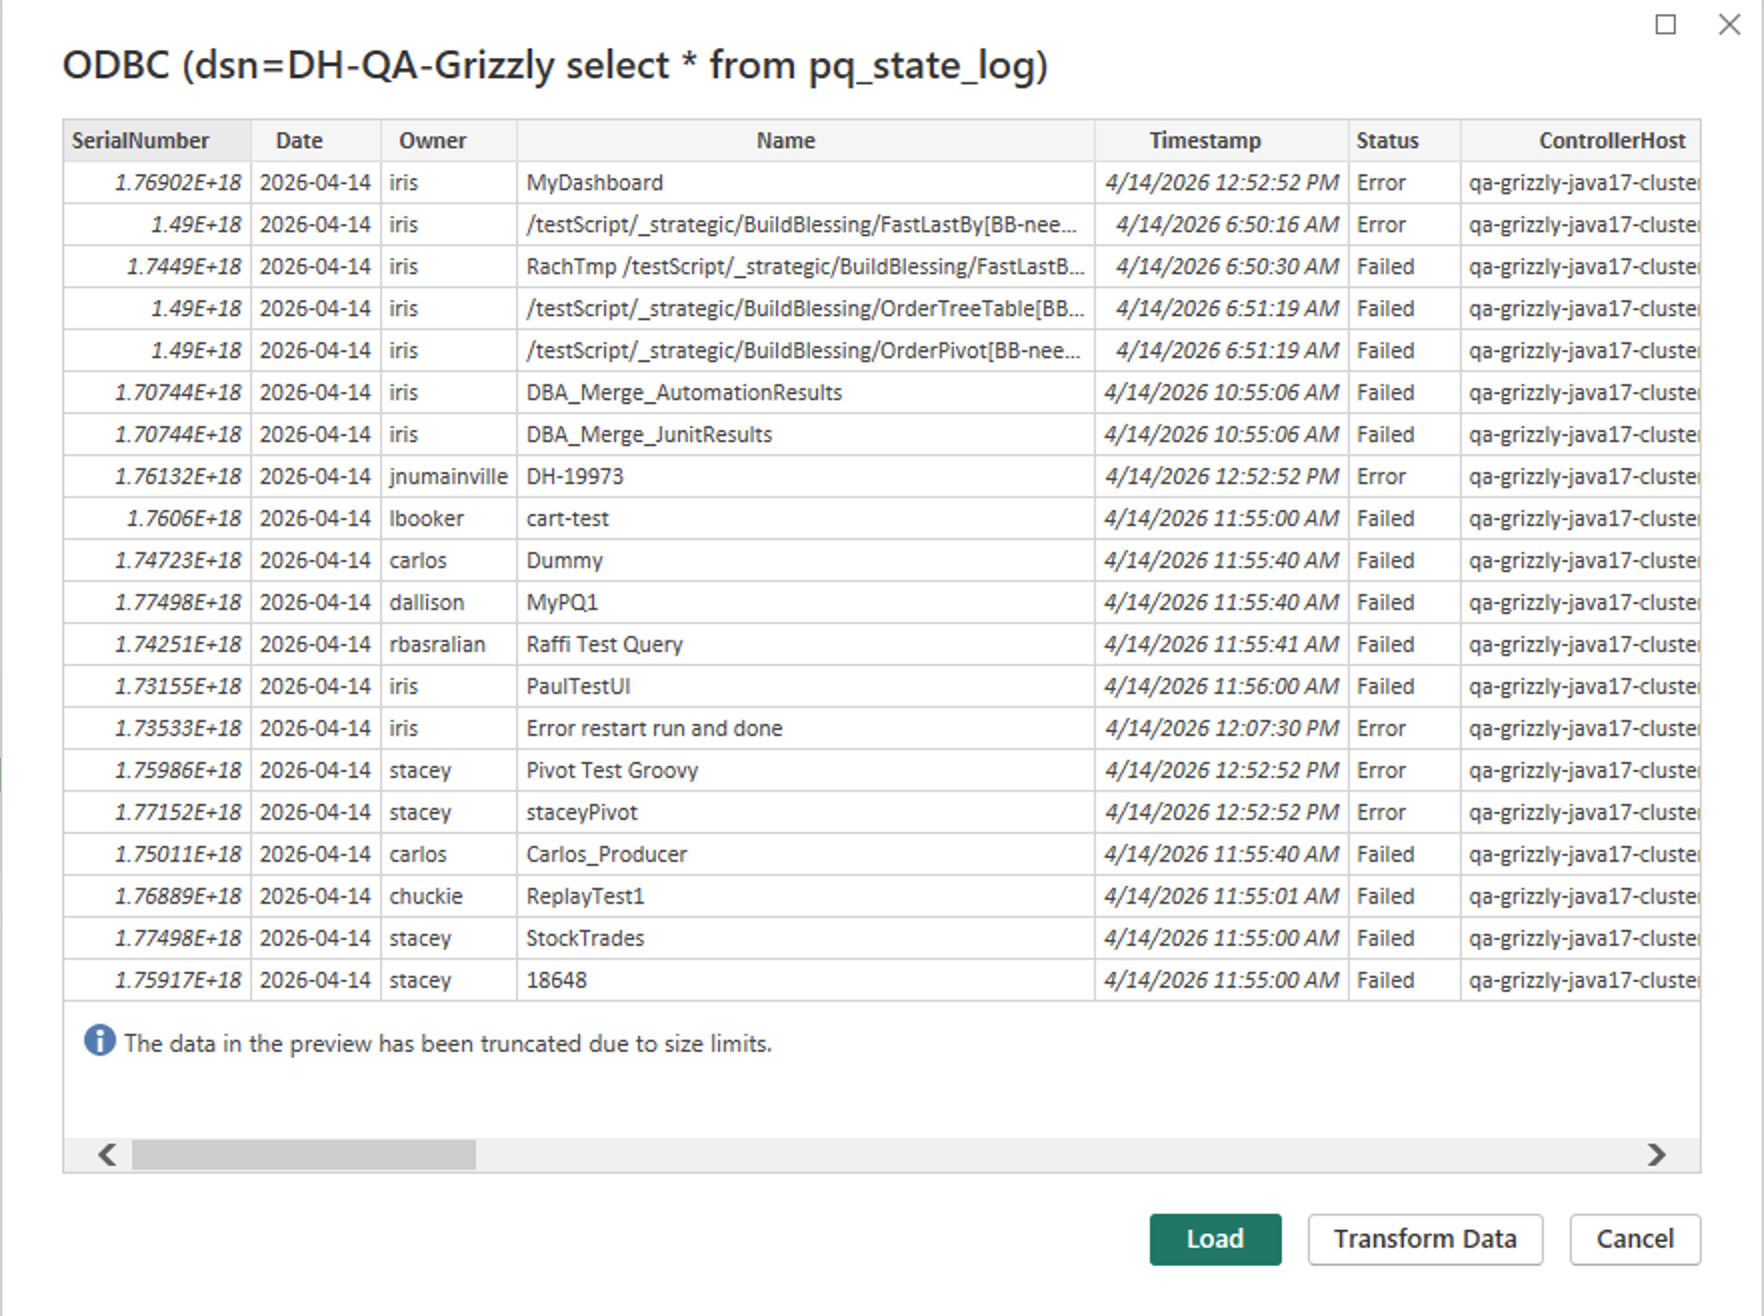
Example query result loaded from a Deephaven Core+ Persistent Query.
Microsoft Excel
-
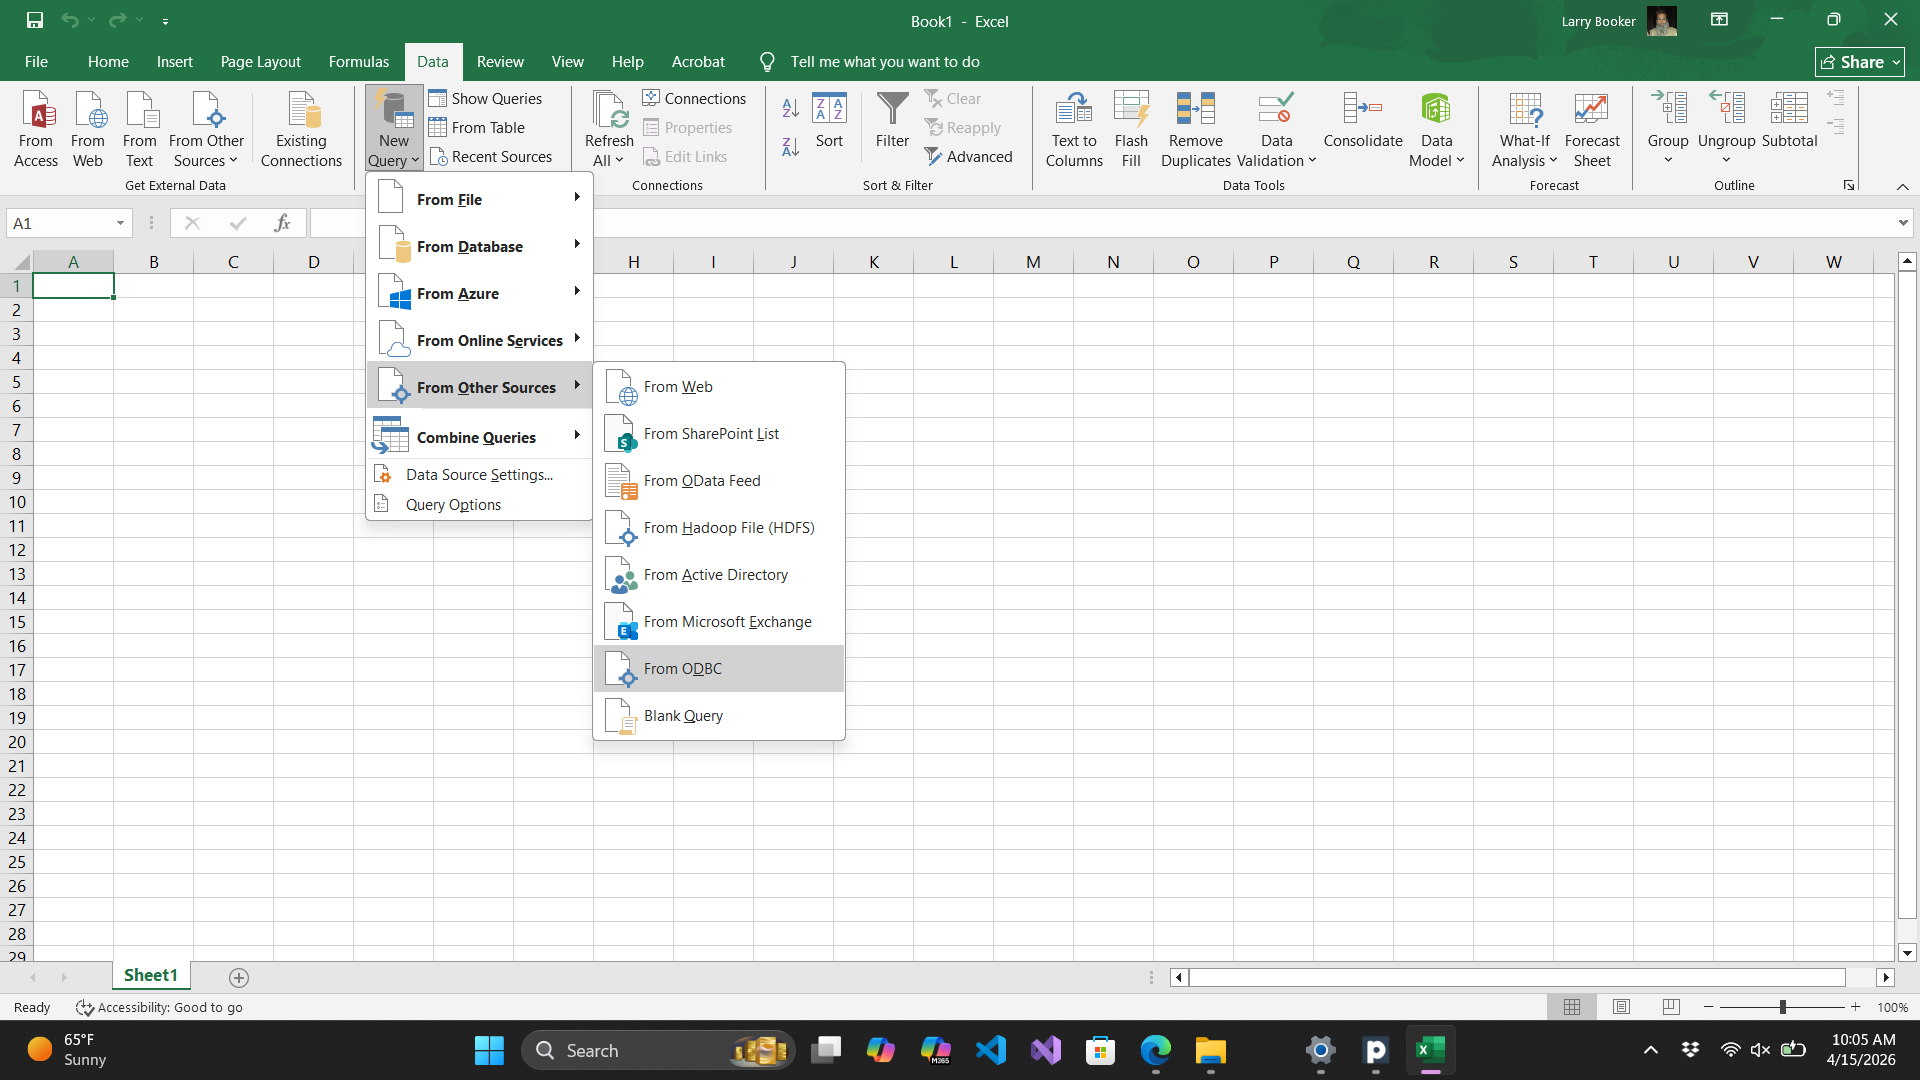
Open Excel.
-
Go to Data → New Query → From Other Sources → From ODBC.
-
Select your DSN from the Data source name (DSN) dropdown. Expand Advanced options and enter a SQL
SELECTstatement in the SQL statement input box.Note
Do not include a trailing semicolon (
;) in the SQL statement.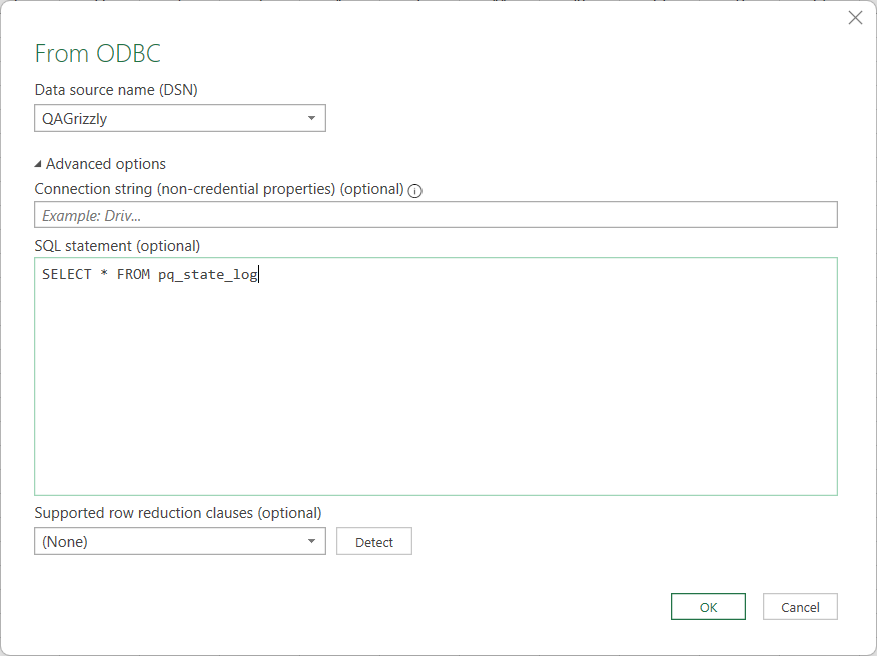
-
Click OK. The query result is displayed directly in Excel.
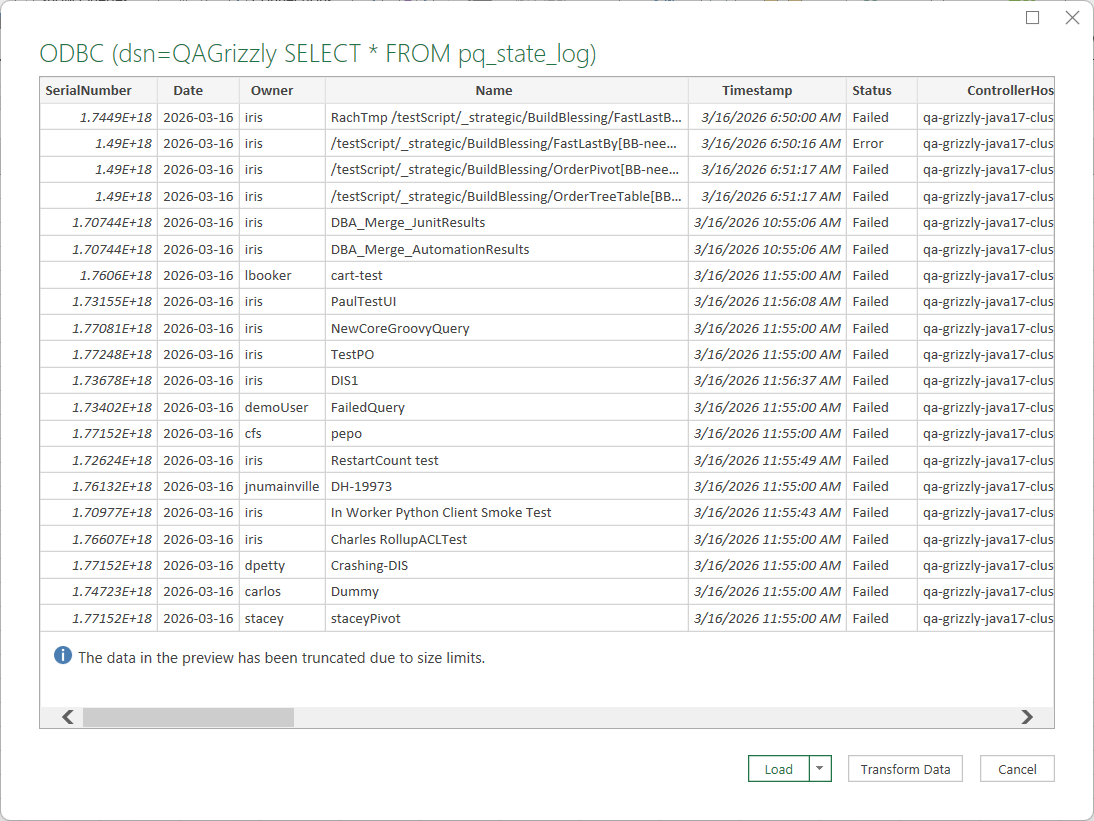
Example query result loaded from a Deephaven Core+ Persistent Query.
Python
Use the pyodbc library to connect to Deephaven Core+ from Python on Windows.
Important
Always pass autocommit=True to pyodbc.connect(). The driver does not implement the SQL_ATTR_AUTOCOMMIT
attribute, so omitting this parameter will cause a HYC00 Optional feature not implemented error.
Install pyodbc
Connect using a DSN
Connect using a connection string
Basic Authentication:
Private Key Authentication: