Custom branding for the web
System administrators can configure properties to replace Deephaven branding with custom logos, favicons, and support information in the Web UI. This allows organizations to maintain consistent branding across their Deephaven deployment.
Note
Custom branding properties vary by Deephaven version. Check /usr/illumon/latest/etc/iris-defaults.prop on your server to see which Webapi.* properties are supported before configuring.
Overview
Custom branding enables you to replace the following Deephaven UI elements:
- Login splash logo: The logo displayed on the left side of the login screen.
![]()
- Settings menu logo: The logo displayed in the user settings menu header.
![]()
- Browser favicon: The icon displayed in the browser tab.

- Browser title: The text displayed in the browser tab title.

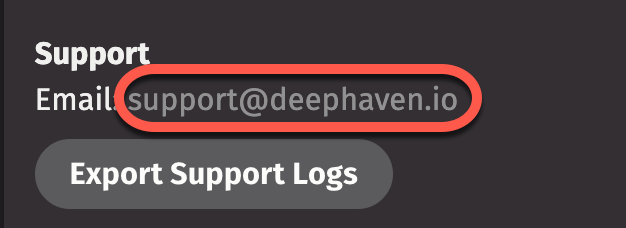
- Support contact: The email address for support inquiries.
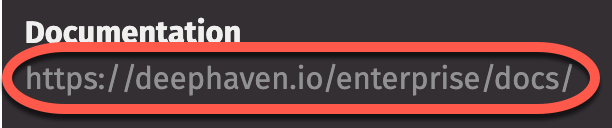
- Support documentation: The URL for support documentation.
When custom branding properties are not configured, Deephaven's default branding is used. You can configure any combination of these properties: partial customization is supported.
Configuration properties
| Property | Where it appears | Default behavior | Supported formats | Recommended size |
|---|---|---|---|---|
Webapi.logo.splash | Login screen (left panel) | Deephaven logo | png, svg, jpg | 200-300px wide |
Webapi.logo.settings | Settings menu header | Deephaven logo | png, svg, jpg | 150-200px wide |
Webapi.favicon | Browser tab icon | Deephaven favicon | png, svg, jpg, ico | 16x16 or 32x32 pixels |
Webapi.title | Browser tab title | "Deephaven" | Plain text file | Short (under 50 chars) |
Webapi.support.contact | Settings menu support link | support@deephaven.io | Email address (direct string) | N/A |
Webapi.support.documentation | Settings menu support link | https://deephaven.io/enterprise/docs/ | URL (direct string) | N/A |
Configure custom branding
Follow these steps to configure custom branding:
- Prepare your branding files:
- Logo files: SVG, PNG, or JPG. Max width 225px for best display.
- Favicon: ICO or PNG, 16x16 or 32x32 pixels.
- Title file: Plain text file containing your desired browser tab title.
- Upload the files to the server.
- Place the files in
/etc/sysconfig/illumon.d/resources/(recommended - preserved during upgrades). - Set ownership and permissions:
sudo chown irisadmin:irisadmin <files>,sudo chmod 644 <files>,sudo chmod 755 <directories>. - Add the branding properties to
/etc/sysconfig/illumon.d/resources/iris-environment.prop. - Restart the web server:
sudo -u irisadmin monit restart web_api_service.
Tip
If changes don't appear immediately, perform a hard refresh in your browser (Ctrl+Shift+R or Cmd+Shift+R) to clear the browser cache.
Related configuration
Custom branding works alongside other UI customization options:
- System badge: Configure
system.name,system.type, andsystem.colorto display a system identifier badge in the UI - Theme customization: Modify color schemes and UI themes through the Web UI settings
- Authentication branding: SAML provider names may appear on the login screen when SAML authentication is enabled