Create and use Input Tables
Input tables allow users to enter new data into tables in two ways: programmatically, and manually through the UI.
In the first case, data is added to a table with add, an input table-specific method similar to merge. In the second case, data is added to a table through the UI by clicking on cells and typing in the contents, similar to a spreadsheet program like MS Excel.
Input tables come in two flavors:
- append-only
- An append-only input table puts any entered data at the bottom.
- keyed
- A keyed input table supports modification/deletion of contents, and allows access to rows by key.
We'll show you how to create and use both types in this guide.
Create an input table
First, you need to import the AppendOnlyArrayBackedInputTable class:
An input table can be constructed from a pre-existing table or a list of column definitions. In either case, one or more key columns can be specified, which turns the table from an append-only input table to a keyed input table.
From a pre-existing table
Here, we will create an input table from a table that already exists in memory. In this case, we'll create one with emptyTable.
From scratch
Here, we will create an input table from a list of column definitions. Column definitions must be defined in a TableDefinition.
The resulting table is initially empty, and ready to receive data.
Create a keyed input table
To create a keyed input table, import KeyedArrayBackedInputTable and call make, using a source table and at least one key column as arguments.
Let's first specify one key column.
In the case of multiple key columns, specify them in a list.
When creating a keyed input table from a pre-existing table, the key column(s) must satisfy uniqueness criteria. Each row or combination of rows in the initial table must not have repeating values. Take, for instance, the following table:
A keyed input table can be created from the X and Y columns, since they have no repeating values, and are thus unique:
A keyed input table cannot be created from the Sym or Marker columns, since they have repeating values and combinations, and are thus not unique:
Add data to the table
Programmatically
To add data to an input table programmatically, you will need to create a InputTableUpdater object using your input table's INPUT_TABLE_ATTRIBUTE. This object can be used to add or remove data from the associated table.
Note
To programmatically add data to an input table, the table schemas (column definitions) must match. These column definitions comprise the names and data types of every column in the table.
Manually
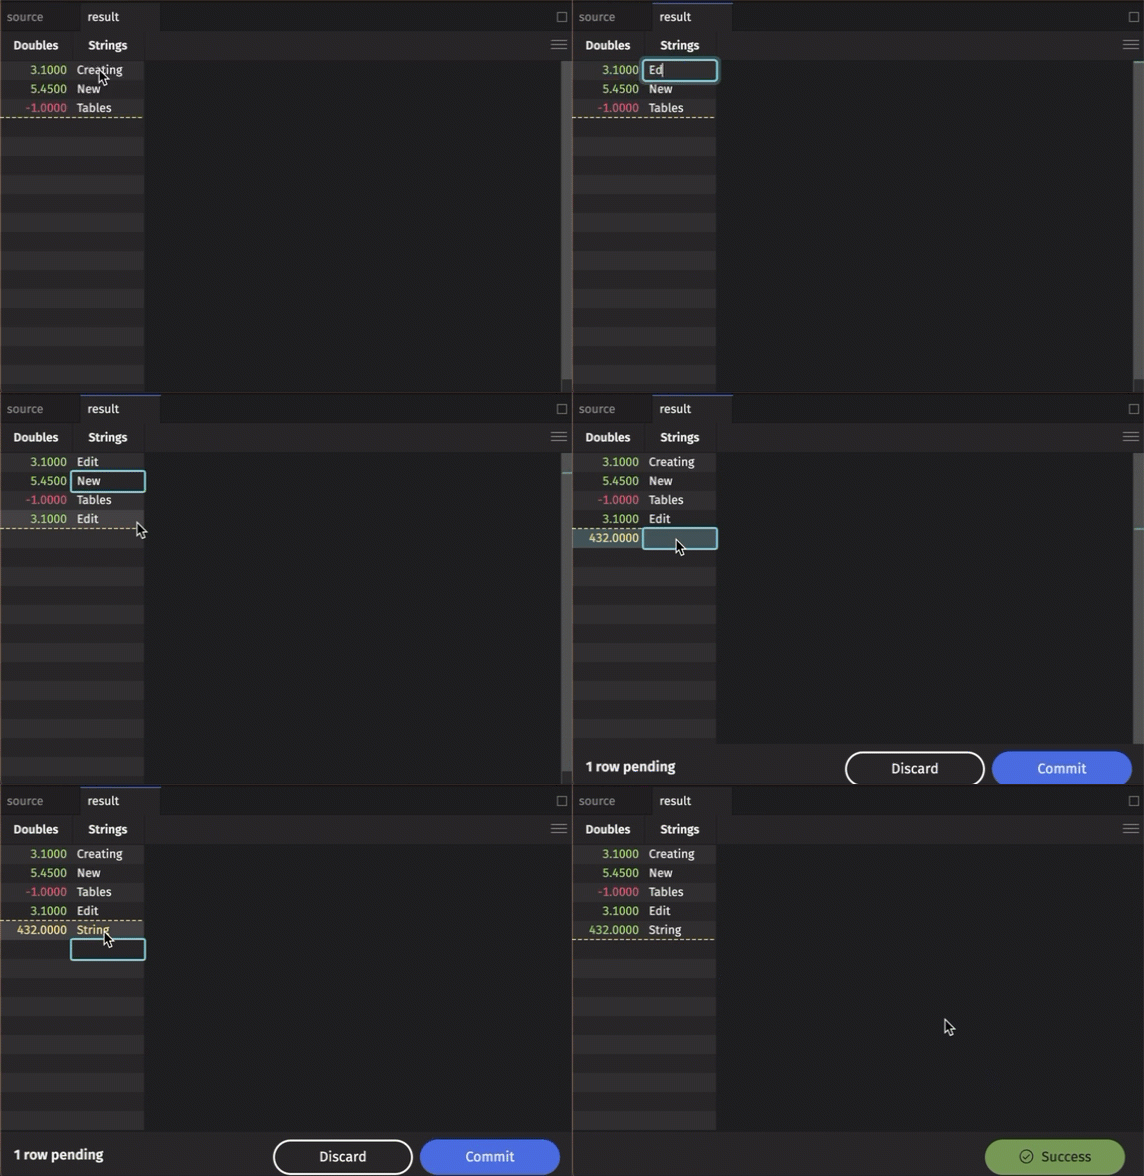
To manually add data to an input table, simply click on the cell in which you wish to enter data. Type the value into the cell, hit enter, and it will appear.

Note that a KeyedArrayBackedInputTable will allow you to edit existing rows, while an AppendOnlyArrayBackedInputTable will only allow you to add new rows.
Important
Added rows aren't final until you hit the Commit button. If you edit an existing row in a keyed input table, the result is immediate.
Here are some things to consider when manually entering data into an input table:
- Manually entered data in a table will not be final until the Commit button at the bottom right of the console is clicked.
- Data added manually to a table must be of the correct type for its column. For instance, attempting to add a string value to an int column will fail.
- Entering data in between populated cells and hitting Enter will add the data to the bottom of the column.
Clickable links
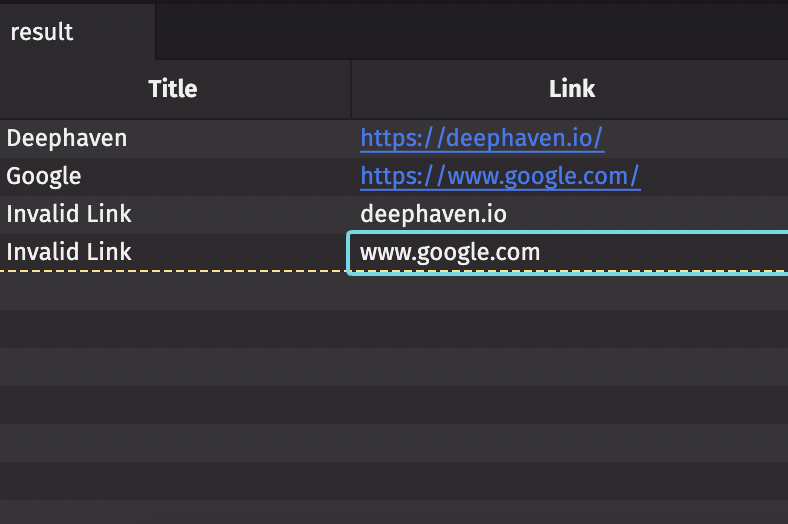
Any string column in Deephaven can contain a clickable link — the string just has to be formatted correctly.

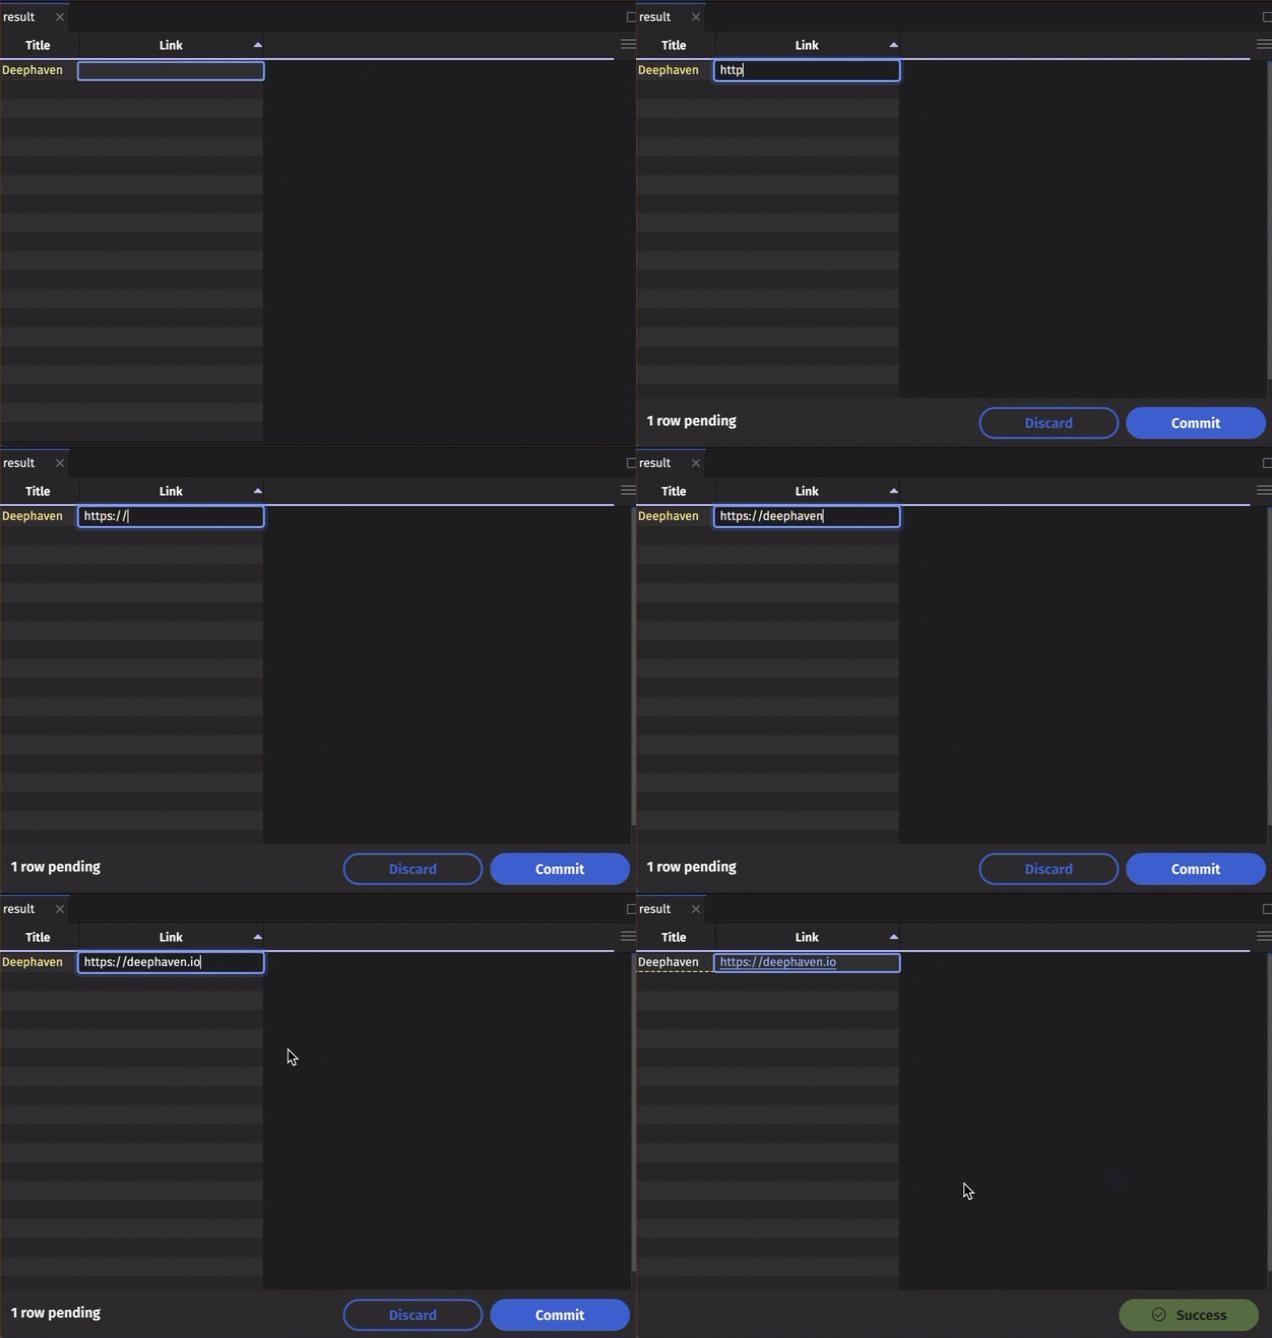
Let's create an input table that we can add links to manually:
