File Explorer
Deephaven notebooks can be used to develop query components, stage draft queries, or simply store notes. Think of the Notebook as a "sandbox" in which queries can be developed and refined, and then easily executed in Deephaven.
The File Explorer stores these notebooks, with options to create new notebooks or folders.
- Double-click any notebook name to open its content in the IDE.
- Right-click any item to delete or rename that file.
- Drag any item into or out of a folder to organize your files.
Similar to your example data, these files are stored within your Deephaven Docker container, in /data/notebooks. See our concept guide, Access your file system with Docker data volumes for more information.
Create and organize notebooks
The two buttons at the top of the File Explorer are used to create new notebooks and folder.
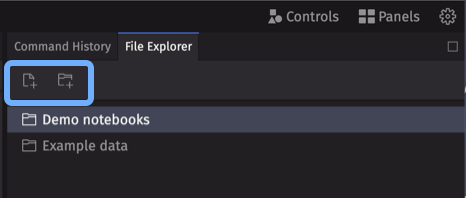
Click the New notebook button on the left and a blank notebook will open below the Console window.
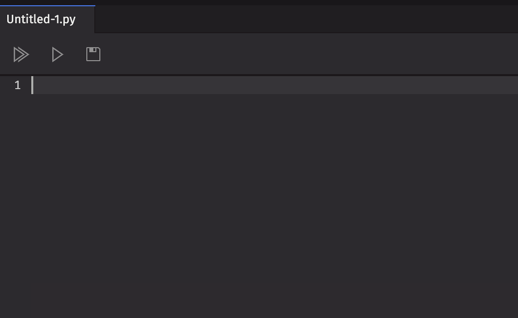
As you can see above, the file name extension will reflect the programming language of your current session (in this case, Python).
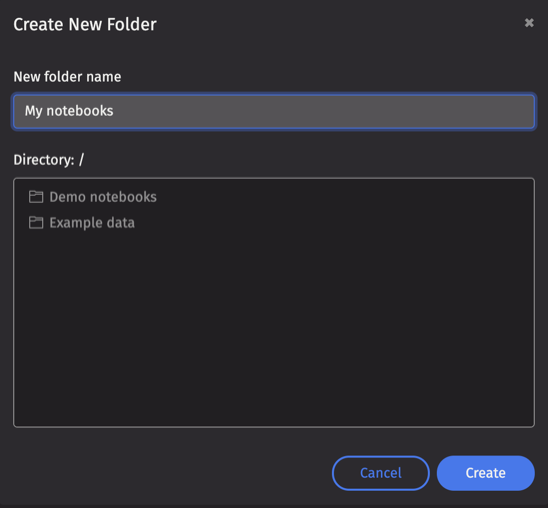
Click the New folder button on the right to create new folders.
Notebook toolbar
There are three options in the Notebook toolbar.
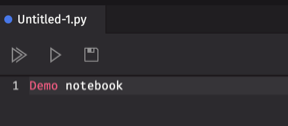
- Run - Automatically copies all of the content in the Notebook window, and then executes the content in the Console.
- Run selected - Copies the content you have highlighted in the Notebook window and then executes those selected lines in the Console. This option runs the entire selected line (or lines), even if you have highlighted only a portion of the line.
- Save - Saves all of the content of the Notebook into a web directory. When Save is clicked for the first time, you will be prompted to enter a filename and file directory location. Clicking Save again overwrites the existing file with the current Notebook content. After the file is saved, the name shown on the Notebook tab changes to match the filename used during the Save process. A blue circle in the Notebook's tab indicates that there are unsaved changes.
Notebook context menu
Right-clicking within the body of the Notebook panel opens a context menu with following options.
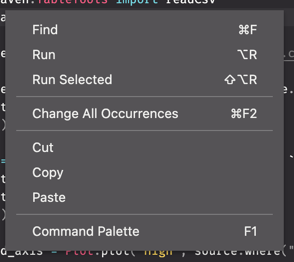
- Find - Opens a search bar for that notebook.

- Run - Automatically copies all of the content in the Notebook window, and then executes the content in the Console.
- Run Selected - Copies the content you have highlighted in the Notebook window and then executes those selected lines in the Console. This option runs the entire selected line (or lines), even if you have highlighted only a portion of the line.
- Change All Occurrences - Highlights all other occurrences of the selected text within the Notebook window, and when the selected text is edited, all occurrences change simultaneously.
- Cut - Deletes the content you have highlighted in the Notebook window.
- Copy - Copies the content you have highlighted in the Notebook window and saves it to the clipboard.
- Command Palette - Opens the Command Palette, which provides an exhaustive list of commands for editing, including keyboard shortcuts for the most common operations.
