Capture Python client tables with Barrage
Note
In this guide, "capturing" a Deephaven table refers to either subscribing to its real-time data stream or producing a static snapshot of its data. Subscribing is only appropriate for streaming tables, while snapshots can be made of static or streaming tables.
The Deephaven Python client can create new tables and retrieve references to tables on a remote Deephaven server. However, these references cannot be used in a typical Deephaven server query, since they are not true Deephaven tables. To get true Deephaven tables from a remote server, you must subscribe to them using Barrage shared tickets. Shared tickets are endpoints (references) for Deephaven tables that clients and servers can share.
Note
URI and Shared Tickets are two different ways to pull tables. Both work on static or dynamic tables. URI pulls tables already on the server via a URL-like string. Shared Tickets let you pull tables you create or access via the Python Client. Learn more about using URI with Deephaven in the URI guide.
Setup
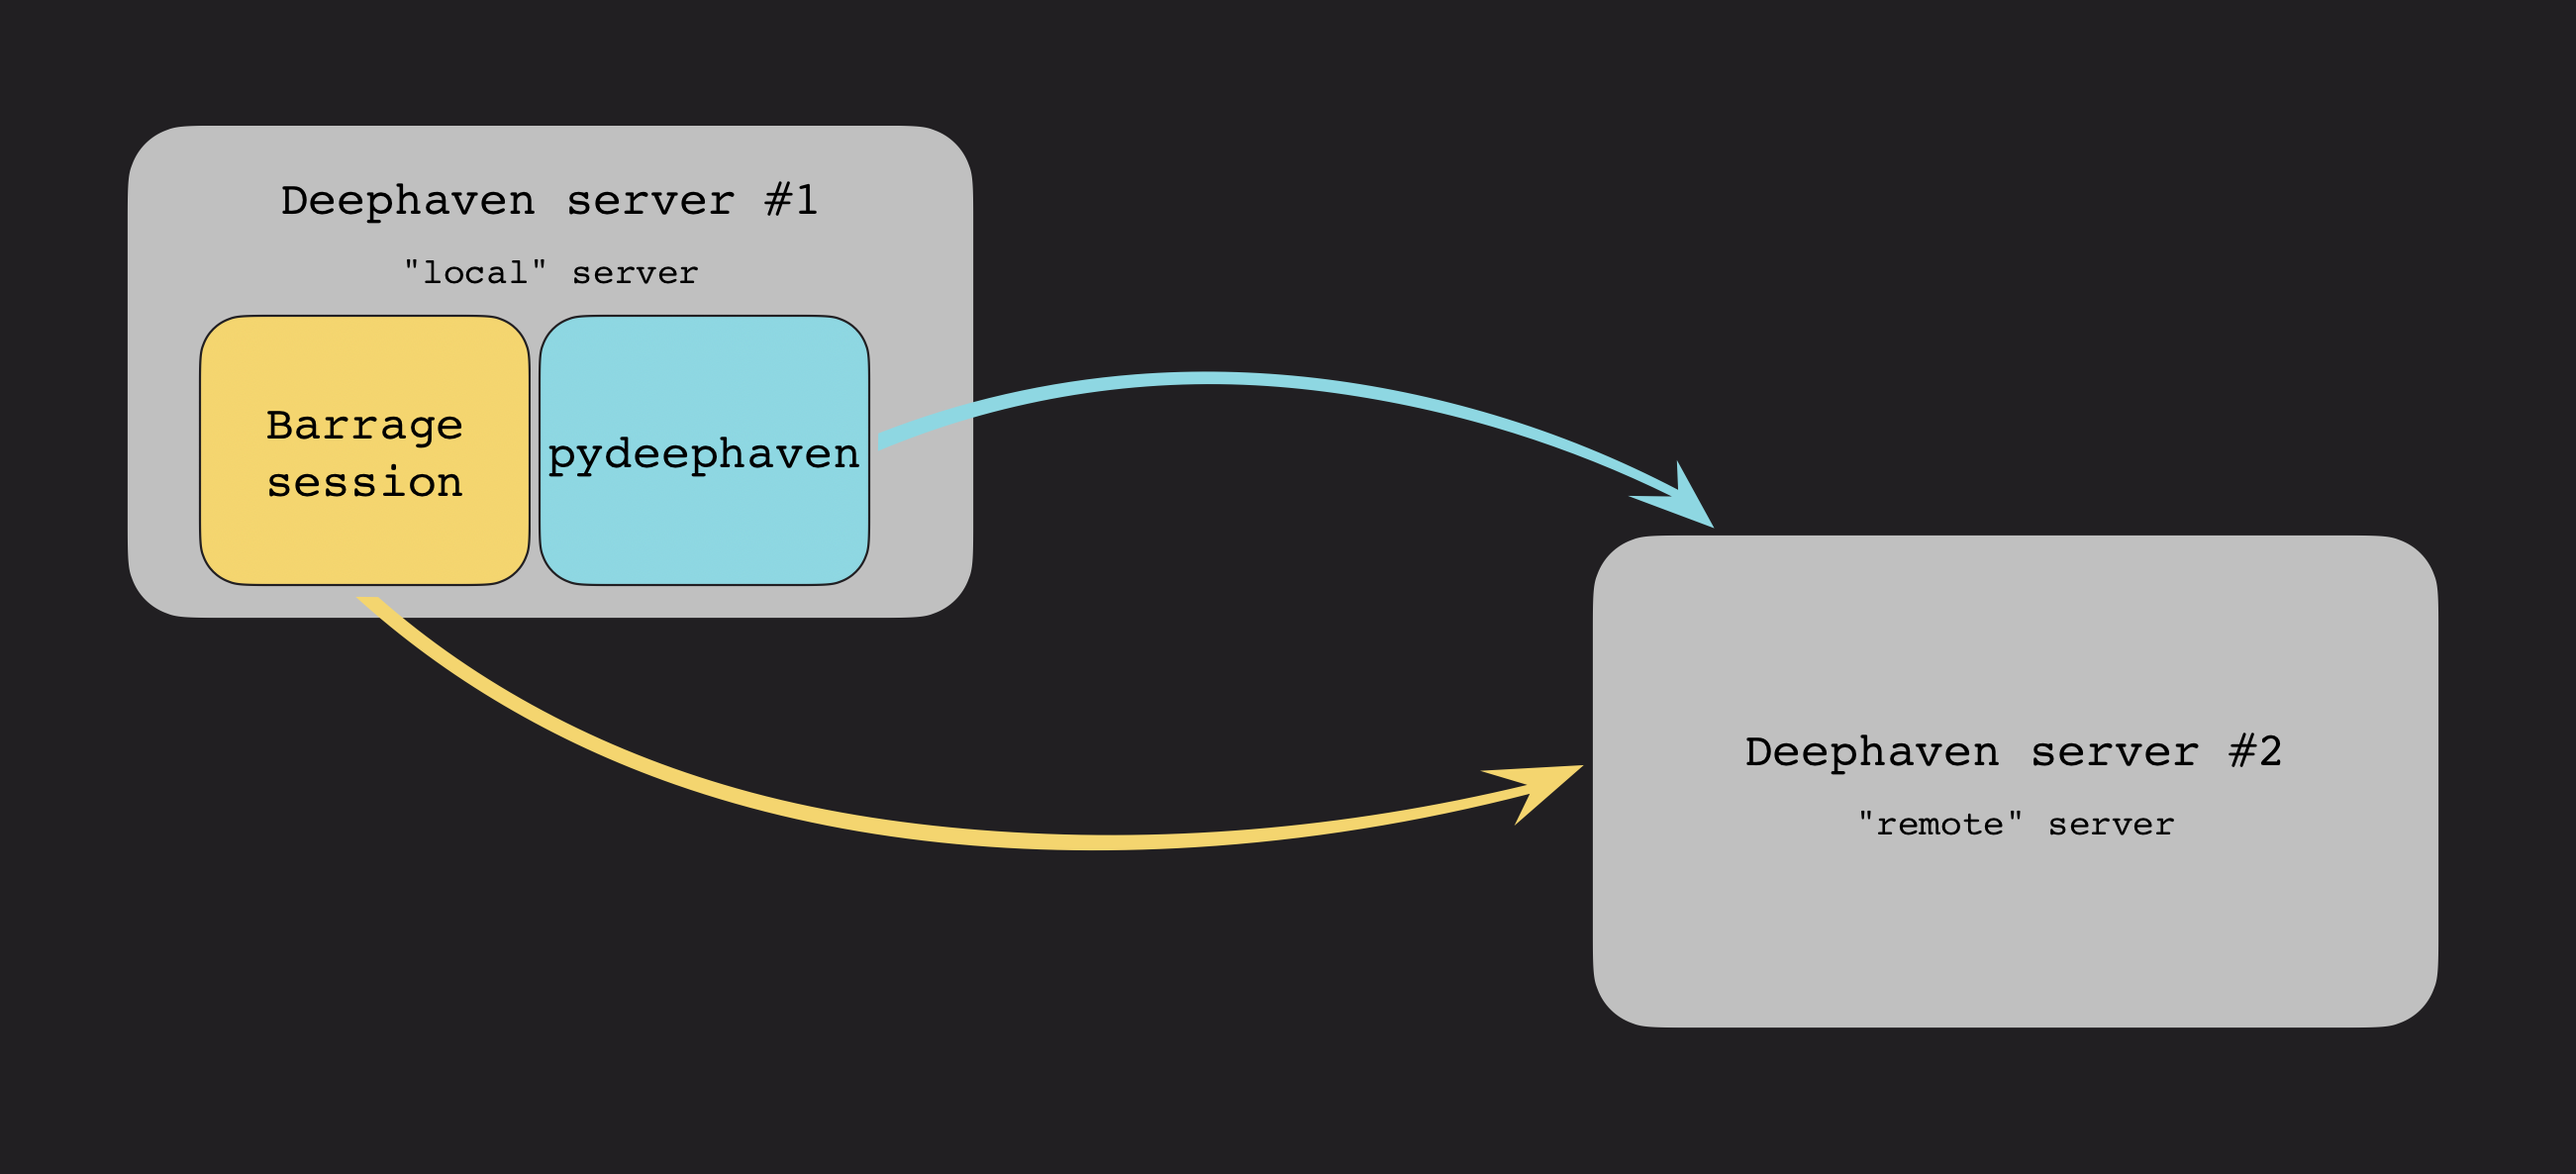
This guide covers capturing tables from a "remote" Deephaven server to a "local" Deephaven server. The servers do not need to run on different hosts, but the terminology helps distinguish the two.
The local server creates two connections to the remote server. The first connection is from the Deephaven Python client, pydeephaven. It is used to perform queries on the remote server. The second connection is a Barrage session used to retrieve tables from the remote server. Here is a diagram of the setup:

You need an installation of pydeephaven on the local server:
See the guide on installing Python packages for more information. To learn about the Deephaven Python client, check out the Python client Quickstart.
Connect the Python client to the remote Deephaven server
The Deephaven Python client creates and maintains a connection to the remote Deephaven server through a Session. This object is also what you use to create tables on the remote server. To connect to a remote server via a Session, you must supply it with information about the remote server's hostname or URL, port, and authentication requirements.
Suppose that the "remote" Deephaven server is running locally on port 9999 with anonymous authentication. Connect to it as follows:
By default, a Session assumes that the remote Deephaven server is using anonymous authentication. This is not always the case. Suppose that the "remote" Deephaven server is running at IP address 192.168.0.1 on port 11000, using pre-shared key authentication, where the password is D33phavenR0cks!. Connect to it as follows:
See the Session API documentation for more configuration options.
Retrieve table references using the client
Once you've established a client connection to the remote Deephaven server, you can use the Session instance to create new tables on the server or retrieve references to existing tables.
As an example, you can create a new static table on the server using empty_table:
table_ref is not a Deephaven table itself, but a reference to a Deephaven table on the server. See this overview of the Python client design for more information on table references.
Similarly, you can use time_table to create a ticking table on the server:
If a table already exists on the remote server, you can retrieve a reference to it with the open_table method:
Create a shared ticket and capture
Once you have a reference to a table on the server, it's easy to publish it with a shared ticket. First, create a shared ticket with the SharedTicket class, and publish the table to the ticket:
Next, you will need a Barrage session to subscribe to the ticket. To create the session, use the barrage_session function. Notice that barrage_session takes the same connection arguments as Session:
By subscribing to the ticket, you can create a local table that updates in real time when the remote table changes:
Alternatively, you can get a static snapshot of a table by using snapshot. This is the recommended approach if the table is static or if you want a static representation of a ticking table:
Voila! You now have real Deephaven server tables called local_t_streaming and local_t_static. These are not just references to Deephaven tables - they are real Deephaven server tables that can be used in any Deephaven query.