Use Deephaven in Jupyter
This guide will show you how to use Deephaven from Jupyter. Jupyter notebooks are powerful tools that simplify the process of sharing data science workflows to others through easy-to-follow interactive cells.
Deephaven can be used directly from Python via pip-installed Deephaven and the Python client. It also has widgets built for working in Jupyter. You can use these widgets to view Deephaven tables and figures.
Installation
The installation process for Deephaven from Jupyter will depend on whether or not you use the server-side API (pip-installed Deephaven) or the Python client. Both are covered below.
Jupyter can be used either through its Jupyter Notebooks or the more modern JupyterLab. Both work for Deephaven, so you can choose whichever suits your needs better. See Project Jupyter's installation guide to get started with Jupyter.
pip-installed Deephaven
Set up Deephaven in your Python environment. To get started, follow the instructions in the Install guide for pip tutorial.
The Python client
Deephaven's Python client can be installed through pip:
Or by building from source. The instructions for doing so can be found on PyPi.
deephaven-ipywidgets
Deephaven offers another Python package, deephaven-ipywidgets, which allows Deephaven tables and figures to be displayed in Jupyter through widgets. Without this package, tables and figures are not rendered. It is installed with pip:
Launch Jupyter
If you chose the basic Jupyter Notebook experience, start Jupyter with:
If you chose JupyterLab, start it with:
From there, create a notebook.
Usage
pip-installed Deephaven
You can use deephaven-ipywidgets to display Deephaven tables or figures (plots).
Caution
You must start the Deephaven server before importing any Deephaven packages. If you import Deephaven packages before starting the server, you will encounter errors.
Add the following code in a cell to run before working with tables or figures:
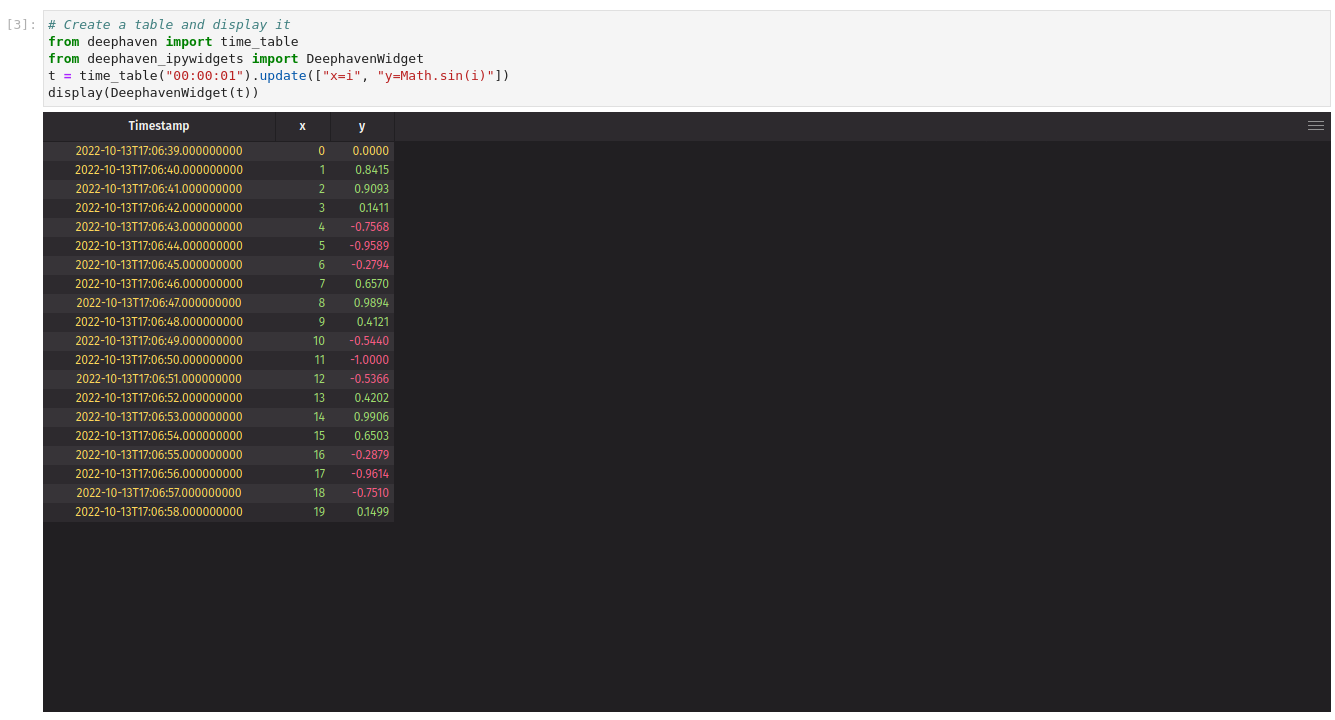
Next, wrap any tables or figures you want to display in a DeephavenWidget. For example, to create and display a table:
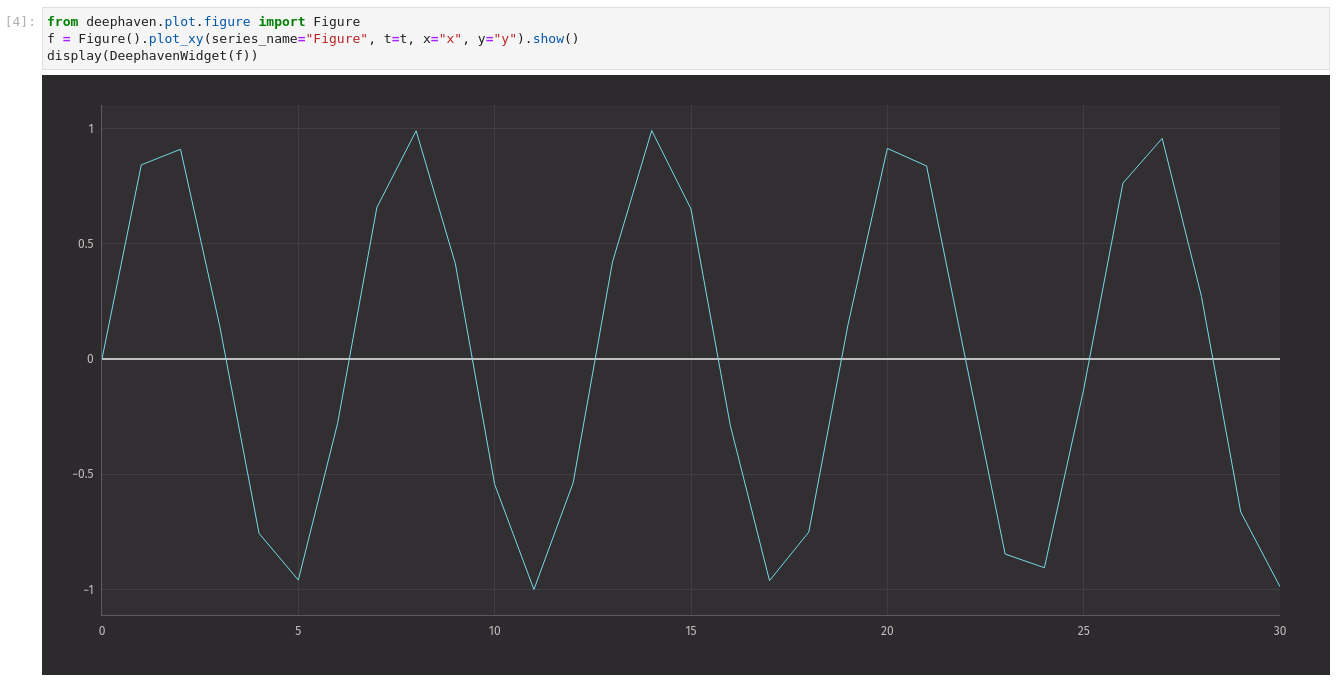
You can also create and display a figure:
By default, the Deephaven server is located at http://localhost:{port}, where {port} is the port set in the Deephaven server creation call. If the server is not there, such as when running Jupyter Notebook in a Docker container, modify the DEEPHAVEN_IPY_URL environmental variable to the correct URL before creating a DeephavenWidget.
The Python client
The Python client is used to connect to an already-running Deephaven server. For a server running locally on port 10000 with anonymous authentication, no input is required when creating a session.
For servers running remotely, or with authentication, see Session.
Users can create tables through the client by executing commands and bind them to the server through the session.